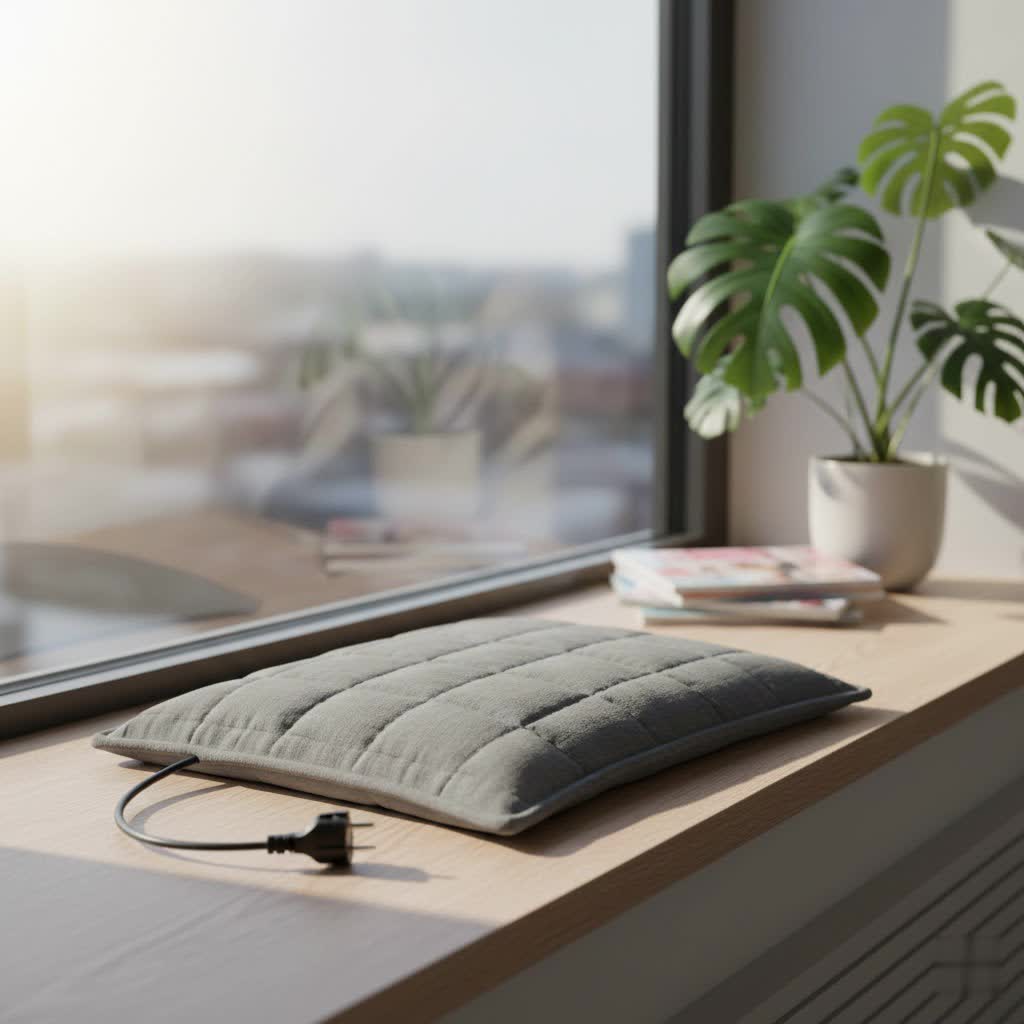
Life is full of little aches and pains, whether it’s a stiff neck from too much screen time, persistent back discomfort, or the unwelcome visit of menstrual cramps. When you seek natural, soothing relief, a heating pad is often the first thing that comes to mind. But why reach for an electric one when you can craft a personalized, eco-friendly, and surprisingly effective solution right at home? DIY heating pads are a wonderful way to bring warmth and comfort directly to where you need it most, using simple materials you likely already have. This guide will walk you through the benefits, types, step-by-step creation, essential safety tips, and care instructions for your very own homemade heating pad, empowering you to embrace natural pain relief.
What is a DIY Heating Pad and How Does It Work?
A DIY heating pad is essentially a non-electric, reusable heat source crafted from common household items, typically a fabric pouch filled with natural grains or a damp cloth. The magic behind its effectiveness lies in a principle called thermotherapy, or heat therapy. When applied to the body, heat causes blood vessels to dilate, or widen, which increases blood flow to the affected area. This surge in circulation delivers more oxygen and nutrients to tissues, helping to relax tight muscles, reduce stiffness in joints, and alleviate pain. For best heating pads roundups on this site.
Choosing a homemade heating pad offers several compelling advantages. It’s incredibly cost-effective, utilizing materials that are often budget-friendly or repurposed. It’s also a natural, chemical-free alternative to store-bought options, allowing for customization in size, shape, and even scent. Plus, the satisfaction of crafting your own comfort is an added bonus!
Benefits of Using a Homemade Heating Pad
The gentle, penetrating warmth of a homemade heating pad can provide a multitude of therapeutic benefits for your body and mind. It’s a simple yet powerful tool for enhancing your well-being.
- Alleviates Muscle and Joint Pain: Whether it’s persistent neck pain, a throbbing back, or general muscle soreness after a workout, heat therapy helps relax tense muscles and soothe discomfort. The increased blood flow aids in flushing out lactic acid and other metabolic waste products that contribute to pain.
- Soothes Menstrual Cramps: For many, menstrual cramps are a recurring struggle. A warm heating pad applied to the lower abdomen can significantly ease the pain by relaxing uterine muscles, offering a natural, non-pharmacological comfort.
- Improves Circulation and Relaxation: The dilation of blood vessels promoted by heat not only reduces pain but also fosters a sense of calm and relaxation throughout the body, helping to melt away stress and tension. This improved circulation also supports overall tissue health.
- Aids Recovery: For chronic (but not acute) muscle or joint pain, the enhanced delivery of oxygen and nutrients through increased blood flow can accelerate the natural healing processes of damaged tissues.
- Versatile Use: Beyond warmth, many DIY heating pads can be chilled in the freezer to double as a cold compress, ideal for reducing swelling and inflammation from acute injuries or providing cooling relief on a hot day.
Popular Types of DIY Heating Pads
When it comes to crafting your own heating pad, you have a couple of primary routes, each offering unique advantages based on your needs and available materials.
Grain-Filled Heating Pads
|
Our Picks for the Best Heating Pad in 2026
As an Amazon Associate I earn from qualifying purchases.
|
||
| Num | Product | Action |
|---|---|---|
| 1 | Heating Pad for Back, Neck, and Shoulder Pain Relief, Electric Heat Pad with 6 Heat Levels, Moist Heat Option, Auto Shut-Off, Birthday Christmas Gifts for Women Men Mom Dad Grandma, Gifts for her |

|
| 2 | GENIANI Electric Heating Pad for Back Pain & Cramps Relief, Electric Throw, Auto Shut Off, Machine Washable, Moist Heat Pad for Neck & Shoulder - Valentines Day Gifts for Her Him, Extra Large 24x12 |
|
| 3 | Heating Pad for Back, Neck, Shoulder Pain Relief - 12"x24" Heat Pads, Auto-Off, Machine Washable, Moist/Dry Heat Options - Valentine's Day & Christmas Gifts for Her, Him, Mom Dad, Women, Men |
|
| 4 | Sunbeam XL Heating Pad for Back Neck and Shoulder Pain Relief with Sponge for Moist Heating Option Extra Large 12 x 24" Blue |
|
| 5 | Cordless Heating Pad for Back, Back Heating Pad Rechargeable Heated Waist Belt Wrap with Built-in Warming Layer 5 Heat Options & 3 Auto Timer |
|
| 6 | Heating Pad for Back Pain Cramps Relief - Electric Heating Pad for Neck/Shoulder/Muscle Pain - 6 Heat Settings, Auto Off, Moist Heat Options, Machine Washable, Christmas Gifts for Women Mom Wife - XL |
|
| 7 | VAAGHANM Heating Pad: 33 x 17 inches Electric Heating Pad for Back -Extra Large Heat Pad for Shoulder/Neck/Knee/Arms - Upgraded 6 Timer & 6 Temperature Controller -Auto Shut Off |
|
| 8 | GENIANI Electric Heating Pad for Back Pain & Cramps Relief, Electric Throw, Auto Shut Off, Machine Washable, Moist Heat Pad for Neck & Shoulder - Valentines Day Gifts for Her (12×24", Tabby Gray) |
|
| 9 | Electric Heating pad for Back Neck Shoulder Knee Arms Legs- Electric Heat Pads with 6 Heat Settings & Auto Shut Off &Dry/Moist Heat Heating Pad for Birthday Mother Father Girl Men Women |
|
| 10 | Heating Pad for Period Cramps, Heating Pad for Back/Neck/Shoulder Muscle Pain, 6 Heating&4 Timer Setting, Auto Shut Off, Dry/Moist Heat & Machine Washable, Gray Birthday Christmas Gifts for Women Mom |
|
These are arguably the most popular and versatile homemade heating pads. They rely on natural, uncooked grains that absorb and retain heat efficiently when microwaved.
- Rice, Corn, or Oatmeal: These fillers are readily available, inexpensive, and excellent at holding heat. They conform well to the contours of your body, providing comforting, even pressure. White rice is a common and recommended choice due to its affordability and consistent heating properties.
- Flaxseed: A fantastic alternative, flaxseed tends to retain heat for a longer duration than rice and offers a smoother, more pliable texture. It’s also naturally hypoallergenic. However, flaxseed can go rancid over time, so you might need to replace it more frequently (every 6 months or so) to maintain freshness.
- Other Options: Barley and even cherry pits are also viable alternatives, offering similar heat retention qualities.
Moist Heat Compresses
For quick relief and a soothing moist heat, a simple compress can be made using water and a towel.
- Wet Dishcloth or Towel: This method is the quickest for immediate relief. Moist heat can penetrate deeper into tissues compared to dry heat, offering profound relaxation.
- Method: A wet dishcloth can be placed in a microwave-safe freezer bag and heated briefly in the microwave. Alternatively, a damp, folded towel can be warmed in an oven. Once warm, always wrap it in a thinner, dry cloth before applying.
Crafting Your Own: Step-by-Step Guides
Creating a DIY heating pad is a rewarding project that requires minimal supplies and effort. Here are a few popular methods to get you started.
Materials You’ll Need (General)
Before you begin, gather these common items:
- Fabric: The most crucial element for safety is 100% natural fiber fabric, such as cotton, flannel, muslin, or even an old cotton sock or pillowcase. Avoid synthetic materials, as they can melt or ignite in the microwave.
- Filler: Uncooked rice (white or brown), corn, flaxseed, or oatmeal. Choose the cheapest available for crafting.
- Tools: Needle and thread (or a sewing machine), scissors, a funnel or measuring cup (for easy filling).
- Optional Enhancements: Dried lavender buds, a few drops of essential oils (like lavender or eucalyptus) applied to the fabric for aromatherapy.
Method 1: The Simple No-Sew Sock Heating Pad
This is the quickest and easiest way to make a heating pad, perfect for beginners or when you need fast relief.
- Choose Your Sock: Grab a clean, 100% cotton tube sock (knee-high works best). Ensure it has no holes or synthetic elastic that could spark in the microwave.
- Fill It Up: Using a measuring cup or funnel, fill the sock about three-quarters full with your chosen uncooked grain (e.g., rice). This allows the pad to remain flexible and conform to your body.
- Secure the End: Tie a tight knot at the open end of the sock, ensuring no grains can escape. You can double-knot it for extra security.
- Ready to Use: Your no-sew heating pad is complete!
Method 2: Sewn Fabric Heating Pad (for lasting comfort)
This method provides a more durable and customizable heating pad, often with compartments for even heat distribution.
- Cut Your Fabric: Cut two rectangles of 100% cotton fabric to your desired size (e.g., 6×18 inches is a versatile size for neck, back, or abdomen).
- Sew Three Sides: Place the fabric pieces right sides together. Sew around three edges, leaving one short end completely open. Use a 1/2-inch seam allowance.
- Turn and Finish Edges: Turn the fabric pouch right side out. Fold in the raw edges of the open end about 1/2 inch and press them flat with an iron.
- Create Compartments (Optional but Recommended): To prevent the filler from pooling at one end, you can create internal channels. Stitch one or two lines across the width of the bag, leaving the top open. For a 6×18 inch pad, you might sew lines every 6 inches to create three sections.
- Fill with Grains: Using a funnel or measuring cup, fill each compartment (or the entire bag if not sectioned) about two-thirds full with your chosen uncooked grain. Don’t overfill, as you want the pad to remain pliable. If adding dried lavender, mix it in now.
- Close the Opening: Pin the folded edges of the remaining open side together. Carefully stitch this opening closed using a sewing machine or hand-sew with a strong, tight stitch, ensuring no grains can escape.
Method 3: Quick Moist Heat Compress
For immediate, moist heat relief.
- Dampen Cloth: Thoroughly wet a clean dishcloth or small hand towel. Wring out excess water so it’s damp, not dripping.
- Prepare for Microwave: Fold the damp cloth and place it in a microwave-safe freezer bag (leaving the bag open).
- Heat Gently: Microwave on high for 30-60 seconds. Remove carefully.
- Wrap and Apply: Seal the ziplock bag, then immediately wrap the hot bag in a dry towel before applying it to your skin.
Essential Safety Tips for DIY Heating Pads
While homemade heating pads offer wonderful relief, safety must always be your top priority. Improper use can lead to burns or other complications.
- Heating Guidelines:
- Microwave in Short Intervals: Start with 30-60 seconds on high, then remove, shake/fluff the filler to redistribute heat, and microwave in additional 15-30 second bursts until it reaches a comfortable temperature.
- Maximum Heating Time: Do not exceed a total of 2-3 minutes in the microwave. Overheating can cause grains to scorch or fabric to ignite.
- Never Leave Unattended: Always supervise your heating pad while it’s in the microwave.
- Application Precautions:
- ALWAYS Test Temperature: Before applying to your body, test the pad’s temperature on the inside of your wrist or arm. It should feel comfortably warm, not hot. If it’s too hot to hold comfortably, it’s too hot for your skin.
- Use a Barrier Cloth: Always place a towel, pillowcase, or other thin cloth between the heated pad and your bare skin to prevent accidental burns.
- Limit Application Time: Apply the heating pad for no more than 15-20 minutes at a time. Give your skin a break before reapplying.
- Never Use While Sleeping: Do not fall asleep with a heating pad on your body, as this can lead to severe burns.
- When to Exercise Caution or Avoid:
- New Injuries (Acute Pain): Avoid heat therapy on acute injuries (e.g., a fresh sprain or bruise) as it can increase swelling and delay healing. Cold therapy is generally preferred for acute injuries.
- Compromised Skin: Do not use on open wounds, broken skin, or areas with rashes or inflammation.
- Certain Health Conditions: Consult a healthcare professional before using heat therapy if you are pregnant, have diabetes (especially with nerve damage), have poor circulation, heat sensitivity issues, or other underlying medical conditions.
- Vulnerable Individuals: Exercise extreme caution when using heating pads on young children, older adults, or anyone with reduced sensation, as they may be more susceptible to burns.
- Material Safety: Ensure all fabric components are 100% natural fibers (like cotton) and free of synthetic elements, metal, glue, or staples, which can melt or spark in the microwave.
Care and Longevity for Your Homemade Heating Pad
With proper care, your DIY heating pad can provide soothing comfort for years to come.
- Cleaning: For grain-filled pads, spot clean the fabric exterior with a mild detergent and a damp cloth. Avoid immersing the entire pad in water or machine washing, as this will ruin the grain filling. Ensure the fabric is completely dry before reheating.
- Storage: Store your heating pad in a cool, dry, airtight container or ziplock bag when not in use. This protects the grains from moisture absorption, odors, and pests. Keep it away from direct sunlight or heat sources.
- Filler Refresh: If using flaxseed, consider replacing the filler every 6 months to a year, as it can go rancid and develop an unpleasant smell. Rice and corn typically last longer.
- Inspection: Before each use, quickly inspect your heating pad for any signs of wear and tear, such as frayed seams or holes, especially after repeated heating cycles. Repair any damage immediately to prevent filler leakage.
Conclusion
Crafting your own heating pad is a simple, fulfilling project that delivers customizable, natural comfort for various aches and pains. From easing muscle stiffness to soothing menstrual cramps, these homemade wonders harness the power of thermotherapy with readily available materials. Remember to always prioritize safety by adhering to proper heating and application guidelines, and your DIY heating pad will become a trusted companion for warmth and relief. So, why wait? Which DIY heating pad will you create first to soothe your aches away?
Frequently Asked Questions
What is the best filler for a DIY heating pad?
The best filler depends on your preference. Rice is affordable and readily available, holding heat well and conforming easily. Flaxseed provides longer-lasting heat and a smoother texture but may need replacing more often due to potential rancidity.
How long do homemade heating pads stay warm?
Typically, a homemade heating pad, especially one filled with grains like rice or flaxseed, will retain a comfortable warmth for about 20-30 minutes, gradually cooling down thereafter. The exact duration can vary based on the filler, size of the pad, and initial heating temperature.
Can I add essential oils to my DIY heating pad?
Yes, you can add a few drops of essential oils like lavender for aromatherapy. It’s best to apply them to the fabric itself or a small cotton ball placed inside the pouch, rather than directly mixing with the grains, to prevent uneven oil distribution or potential fire hazards during heating.
Are homemade heating pads safe for all ages?
While generally safe for adults, extra caution is needed for young children, older adults, and pregnant individuals due to increased heat sensitivity. Always test the temperature carefully and consult a healthcare professional before use for these groups or anyone with underlying health conditions like diabetes or nerve damage.
How do I clean a DIY rice heating pad?
To clean a rice heating pad, spot clean the fabric exterior with a mild detergent and a damp cloth. Avoid submerging the entire pad in water or machine washing it, as this can damage the rice filling. Ensure it is completely dry before reheating.
Get our weekly buyer guide
Practical specs, not advice. Unsubscribe anytime.
